by NRF User | Nov 2, 2013 | NRF News
Here are some simple things that YOU can do. Start at the top of each section with the least expensive, easy to do items and work your way to the bottom where a little more investment and expertise may be needed.
Systems Basics
• Reduce your AC costs! Put windows to work – cross ventilate, adjust blinds, etc.
• Install programmable thermostats and adjust the settings appropriately as seasons change.
• Set water heaters to 120 degrees, and even less in summer.
• Use thick or padded rugs to insulate bare floors.
• Don’t block hot air or cold return registers with furniture or other barriers.
• Read NPS’s Preservation Brief #3, “Conserving Energy in Historic Buildings”.
• Regularly clean or replace filters in forced air systems and AC units.
• Replace radiator steam vents (1-pipe system) or steam traps (2-pipe system).
• Make sure heating ducts and pipes are well insulated and sealed.
• Place a reflector barrier between radiators and outside wall (particularly if wall is uninsulated).
• Have your furnace or boiler cleaned and serviced regularly.
Stop Air Leaks
• Weather-strip exterior doors and attach “sweeps” to the bottom.
• Caulk cracks and joints around door and window frames.
• Seal leaks in ductwork – that’s what REAL duct tape is for!
• Weather-strip or seal attic doorways and hatches.
• Use appropriate spray-foam to seal cracks in foundations and crawlspaces.
• Use foam backer rod to fill large gaps.
Insulation
• Different types of insulation for different applications; Understand R-values
• Attics are the best place to start with insulation; it can give the best return on investment
and has the least potential to harm the historic fabric of your house.
• Plaster walls can be adequate – leave them alone unless other work is needed.
Windows
• Exterior storms – good investment for energy savings, but also to protect your wood windows!
• Interior “insulating panels” – lower cost alternative, doesn’t impact historic character of exterior facade, but beware of potential moisture issues.
• Most original wooden windows can be retained and repaired, resulting in a snug fit and increased energy savings. For more information see other tip sheets in this packet.
Information provided by the Collaborative for Common Sense Preservation :
Historic New England
Preserve RI
Newport Restoration Foundation
by NRF User | Feb 16, 2013 | NRF News
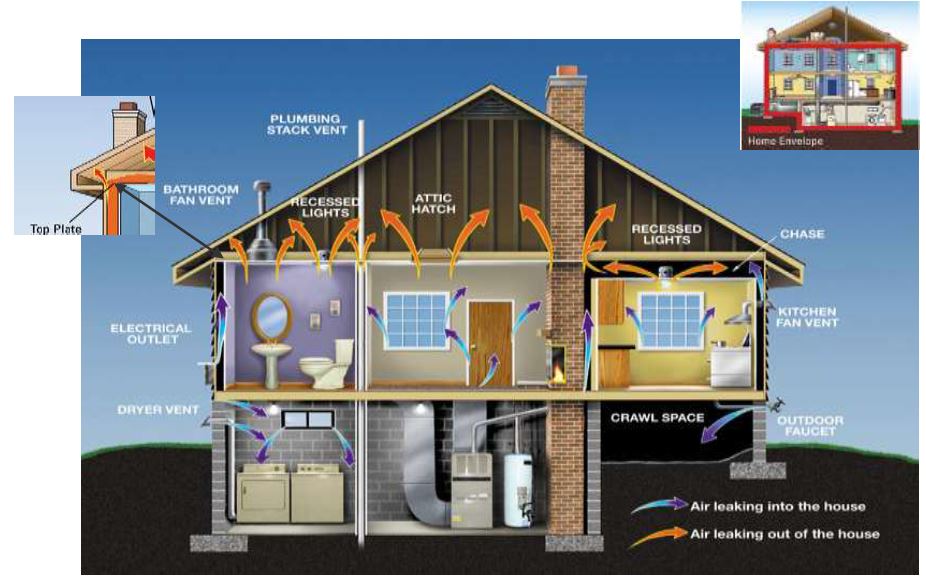
These sites will you help you understand how to address the flow of air and moisture through your home’s “envelope” (its roof, exterior wall, and foundation). Take some easy steps to save money, help the planet, and improve the comfort of your home.
Detecting Air Leaks
This concise guide describes how to find air leaks (or drafts) in your home.
www.energy.gov/energysaver/articles/detecting-air-leaks
Sealing Air Leaks
Once you have located areas in your home where comfortable air is escaping or unwanted air is flowing in, these U.S. Department of Energy sites offer easy tips for sealing those leaks. (Please note that while the Collaborative for Common Sense Preservation concurs with this site’s endorsement of storm windows, we typically do not recommend the other suggestion of replacing your windows.)
www.energy.gov/energysaver/articles/tips-sealing-air-leaks
www.energy.gov/energysaver/articles/caulking
Weather Stripping
Air sealing around windows and doors increases your comfort and saves energy. This site provides a comprehensive list of weather-stripping options, the advantages and disadvantages of each, and tips for installation around windows and doors.
www.energy.gov/energysaver/articles/weatherstripping
Assembled by the Collaborative for Common Sense Preservation (Historic New England, Newport Restoration Foundation and Preserve Rhode Island).
by NRF User | Nov 1, 2012 | NRF News
Information on efficient heating systems compiled by NRF for Historic Homeowner Workshops in 2009, 2010 and 2011. The workshops are a project of the Collaborative for Common Sense Preservation (the Newport Restoration Foundation, Preserve Rhode Island, and Historic New England.)
Click here to download your packet!
by NRF User | Sep 4, 2008 | NRF News
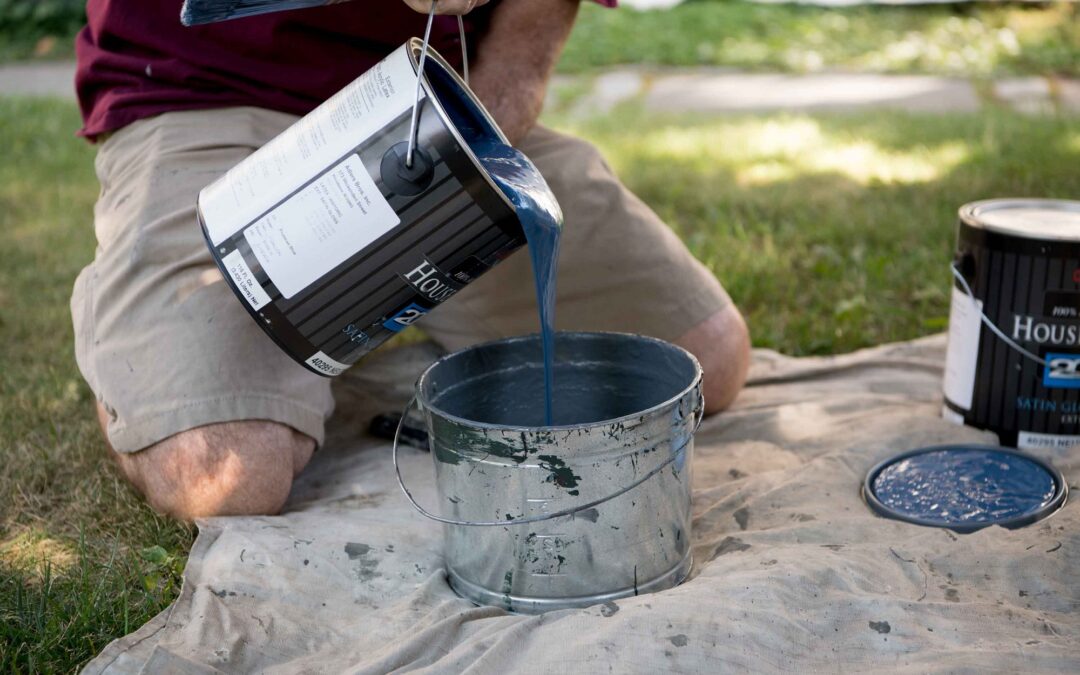
Today we often agonize over the color to paint our houses. What was the original color, what is appropriate for the style, what do I like? Light, dark, the choices are truly infinite today. When your color choice is finally made, it’s then a trip to the paint store that results in gallons of perfect paint in the exact color. And, if you are short a gallon, the paint store pulls out a formula and mixes a gallon to the exact color.
What of paint in the 18th and early 19th centuries? First it was considered a means of protecting and preserving the material fabric of a house. The decorative aspect – color – was less important in this early period. That is not to say color was of no concern within the limitations of the time.
Paint in this early period was made up of linseed oil, the vehicle; pigment, the colorant; turpentine, as a dryer and often red or white lead as a strengthening agent. Shops sold the stuff of paint throughout the 18th century – there were numerous businesses in Newport that advertised oil, pigments and other accoutrements of paint. NRF has examined the Newport Mercury newspapers from about 1750 to 1815 for advertisements and mentions of paint. The information was put into categories such as the pigments mentioned; the number of times particular pigments were advertised and the dates a pigment first appears. This data creates an interesting picture of paint in 18th century Newport and may be the material of another article.
The ingredients were imported primarily from London. Linseed oil came in large wooden casks; pigments, simple and complex, were available ground to a fine powder-like consistency. The ingredients were mixed on the job in a quantity that could be used in a day’s time. The reason for the daily mix is one of those things hardly considered from our perspective – there were no cheap metal re-sealable containers. The mixed paint had to be applied before it dried in the pot. Cheap re-sealable tin cans didn’t exist until the period of the Civil War. Once the paint can was available it allowed for the paint industry as we have come to know it – centralized manufacture, repeatable consistency of product and color, plus mass distribution.
One area of concern to us today is trying to determine the appropriate color for a building of a specific date. It can be done through paint analysis if there is fabric – painted boards – that are original to the build date. This process involves taking several small samples of paint down to the wood, and examining it with an electron microscope. The first layer next to the wood is believed to be the first color applied. The accuracy depends a great deal on the experience of the professional doing the work. Is that first layer a primer or the first real color on the building?
“Historic Color” charts from paint manufacturers are some help, but they often don’t reveal where the color was found or what period the color applies to. Hopefully this short piece will lead to a follow up with more detail on the colors and pigments available in the 18th and early 19th centuries.
by NRF User | Jul 1, 2008 | NRF News
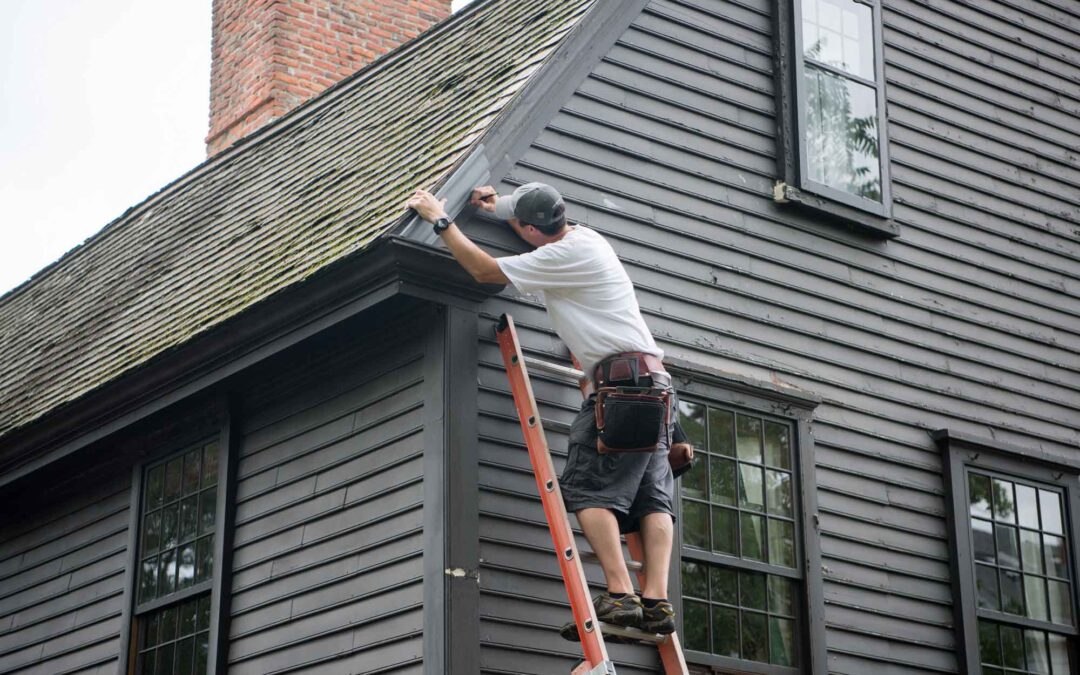
Roofing materials have seen radical changes over the years; yet one common material has remained the same almost from the start of New England’s history. Early 17th century settlers made their homes in basic structures that drew heavily on traditional English heritage. They covered these early roofs with thatch made from marsh and sea grasses that were readily available and the technique was widely known. It did not take long however to realize that conditions in New England, particularly the winters, were not kind to thatch. Rain, snow, freezing and thawing tried the roof’s integrity and found it wanting.
By 1650 it was obvious that roofs of wooden shingles were the answer. In England such a practice would have been horribly wasteful of wood but here, timber was available in abundance. For Newporters, cedar and pine became the standard well into the 19th century.
The colonial roof started with a log nearly three feet long. Wood slices about a ½” thick were split off with a froe and mallet. The bark was trimmed and one end was tapered with a draw knife on a “shaving horse”. The extreme length of early shingles came about for at least two reasons: first the horizontal wood strips or purlins applied to the roof rafters for thatching were widely spaced and this traditional measurement was retained, secondly the length allowed three overlapping courses requiring half the nails – two shingles for the nails of one, a significant factor at a time when handwrought nails were more costly than the shingles themselves.
By the middle 19th century, machinery and transportation saw wood shingles become available nationally and standardized through mass production. Their availability and price along with inexpensive nails led to new ideas of how to use them. In the Shingle Style Architecture of the 1890s, shingles became the decorative frosting on the cake as well as simple, effective protection against the weather. As design elements shingles appeared on small cottages and grand houses alike, all of which are well-represented in Newport.
Today, cedar shingles are appropriate on 18th and 19th century buildings for both roofs and side walls. A properly applied wood roof should last thirty-five to fifty years. White cedar and Alaskan yellow cedar are best for roofs while red cedar is wall material. Critical for a wood shingle roof is its ability to “breathe” or to allow air circulation on both sides of the shingle, since retaining moisture promotes rot.
In the 18th century buildings naturally adjusted to temperature and humidity, but today’s efforts to save on heating costs and maximize space can result in problems. For instance plywood sheathing and black tar paper do not allow for sufficient breathing; unfortunately insulation inside the building may reduce breathability as well. Careful consideration must be applied when modern building materials and techniques are used with old buildings. It is best to read up in detail on this or to seek advice from qualified contractors or experts in the field such as the Restoration Foundation.
Copyright Robert Foley, Newport Restoration Foundation, 2008.

by NRF User | Jun 1, 2007 | NRF News
Following a recent lecture on Newport architecture, I felt compelled to do a bit of research to back up my knowledge that glass is not a flowing, “supercooled liquid” at all. The characteristics of historic glass are all due to its methods of manufacture, but the nature of the material itself required confirmation from the experts. I contacted Stephen Koob and Dr. Brill at the Corning Museum of Glass, two renowned scientific experts in the conservation of glass and the nature of the material.
They stated that glass is not really a supercooled liquid at all, since it does not display any characteristics of a liquid. It is an amorphous solid, meaning that it does not have the more common crystalline structure of minerals; despite that difference, the material most chemically and physically similar to glass is quartz – definitely a solid also.
As to the notion – often observed to be true – that old window glass is thicker at the bottom than at the top, that quality is due to the original form of the glass, which in turn is due to its method of manufacture. The manufacturing processes will be described first, followed by the construction principles for windows. These generalities apply equally to glass in medieval stained glass as well as to eighteenth-century windows everywhere.
Early glass could be made in three ways: crown, cylinder, and rolled. The latter can be discounted for window glass, because the process was only applied to very costly luxury items. Crown glass was first blown by mouth: a gather of molten glass from the furnace was blown on a blowpipe until it became a proper sized bubble (limited by the glassworker’s breath and arm strength), at which point, the side of the bubble away from the pipe was cut open, and the worker spun the hot glass into a flat disk after transferring the piece from the blowpipe to a pontil rod (stuck to the center of the disk, where the blowpipe had been; this also closed up the hole in the middle). This
often entailed a number of steps, mostly to keep the glass hot and malleable. This was the “crown” of glass. The disk tapered from the center to the edges, but if the worker was skilled, at least it was fairly flat; often, curved lines resulting from the spinning may be seen in pieces of crown glass. Cutting usable panes or “quarries” from the disk involved some waste, but cutting small panes, some of them triangular (for a diamond-pattern window) wasted the least. Unusable scraps of glass were returned to the furnace. The center of the disk, called the bull’s eye, was not as transparent as the rest, and was often used in transoms above doorways, where one would not be able to look out anyway, and some light was admitted. Now, of course, bull’s eyes are much sought after.
A type of flat glass that was a bit thicker was produced by the broad or cylinder method. A large bubble of glass was blown, roughly forming a cylinder, which was cut open along its length and ironed flat while still hot and pliable from the furnace. Although cylinder glass could produce larger rectangular pieces than crown glass, it was more difficult to make, and it was not as clear, due to the ironing process; elongated striations may be seen in it.
The first method for making plate glass was developed in the late seventeenth century, but it seldom pertains to window glass. Early plate glass was made by rolling molten glass on metal tables, producing heavy pieces of dull, uneven glass that needed considerable grinding and polishing to be usable in large windows and mirrors. Needless to say, it was much more costly than either crown or cylinder glass. By the mid-nineteenth century, a method for making drawn sheet glass created smooth glass by pressing the molten material between two rollers. By 1923, high quality thick plate glass could be produced, and in 1959 the float glass process was perfected, producing a continuous ribbon of glass floated on molten tin.
As a brief note, there are two common formulas for glass. In the simplest terms, common glass is made of silica, lime, and soda or potash. Its color and clarity depend on the purity of the ingredients; it was frequently green from iron content. Common glass was often known as “bottle glass.” More expensive flint glass was made substituting lead oxide for lime. The resulting material was heavy, sparkling, and somewhat softer than common glass. Flint glass was well suited to cutting and engraving, while common glass was used in creating decorative pressed glass pieces.
As for the construction of windows, the method is straightforward. Panes are cut from the crown, and often display some taper, due to the nature of the crown itself. Logically, the thicker edge of the glass is placed toward the bottom. Sometimes, lines or smears can be seen in the glass, also as a result of the production method. If cylinder glass was used, those lines may be straighter, but not necessarily. Consider that old mirrors, bottles and other vessels do not change shape over time, and we know that window glass does not, either. The glass does not sag over time, nor does its surface become wavy as it ages. It cannot become “less solid” unless it is placed in a furnace and melted.
About the only change that occurs in old glass – and then, only in rare and extreme cases – is sometimes called glass disease. A fault in the original composition of the glass causes it to be vulnerable to attack by moisture. Alkali is leached out of the glass, droplets of moisture might be seen on the surface (hence the expression, weeping glass), and there may be a slight vinegar smell. The glass may take on a hazy appearance, developing over time into a mass of microscopic cracks; this condition is called crizzled glass. Also rarely, old glass with an excess of magnesium in the mix can develop a purple cast, although in modern times this condition is generally regarded as a status symbol rather than a problem. It does not materially affect the glass.
By Bruce MacLeish, Former Director of Collections, Newport Restoration Foundation.
Copyright Bruce Macleish, Newport Restoration Foundation, June 2007.