We learned about the Power of Wind from our May Second Sunday From Home program (Click here to check it out!). Now it’s time to learn how to create your own weather vane!
Instructions
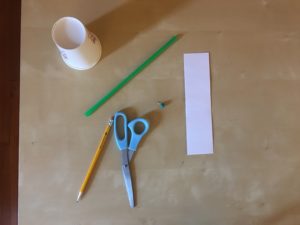
Supplies:
– straw
– Pin or paper clip
– Pencil with eraser
– Cardstock (or heavier) paper
– Paper cup
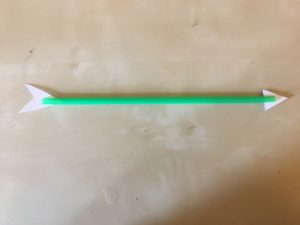
Step 1
Draw arrows on cardstock paper and cut out. Try to make the back arrow slightly larger than the front, this will help the weather vane point in the right direction (the bigger side will be pushed by the wind, so the smaller side will point in the direction the wind is blowing).

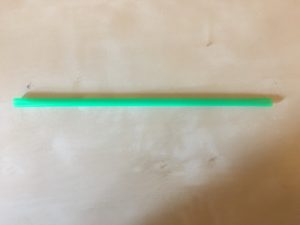
Step 2
Cut slits into ends of straw. Make sure your cuts are done in the same direction, or your arrows will not be aligned.
Step 3
Insert paper arrows (head and tail) into the ends of straw.
Step 4
Poke pencil into center of the bottom of the paper cup, or another household object (such as a paper box, a piece of clay, anything that will keep the pencil upright).
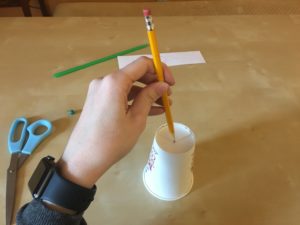
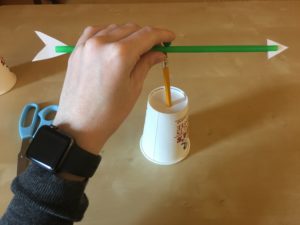
Step 5
Attach straw to the eraser using pin or paper clip. Make sure that your straw is able to turn smoothly.
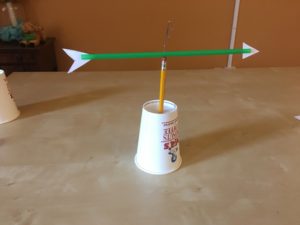
Step 6
Bring outside and watch it turn!
(Optional)
If you would like, use a compass to determine north, south, east, and west, and mark them on your weather vane. Now you’ll always know the direction of the wind!
Feel free to color or decorate your weather vane however you choose!
Be sure to share your weather vanes with us by tagging NRF on social media @nptrestoration!
